How To Make The Best Sweet Tea
Monday, August 20th, 2018 by Al
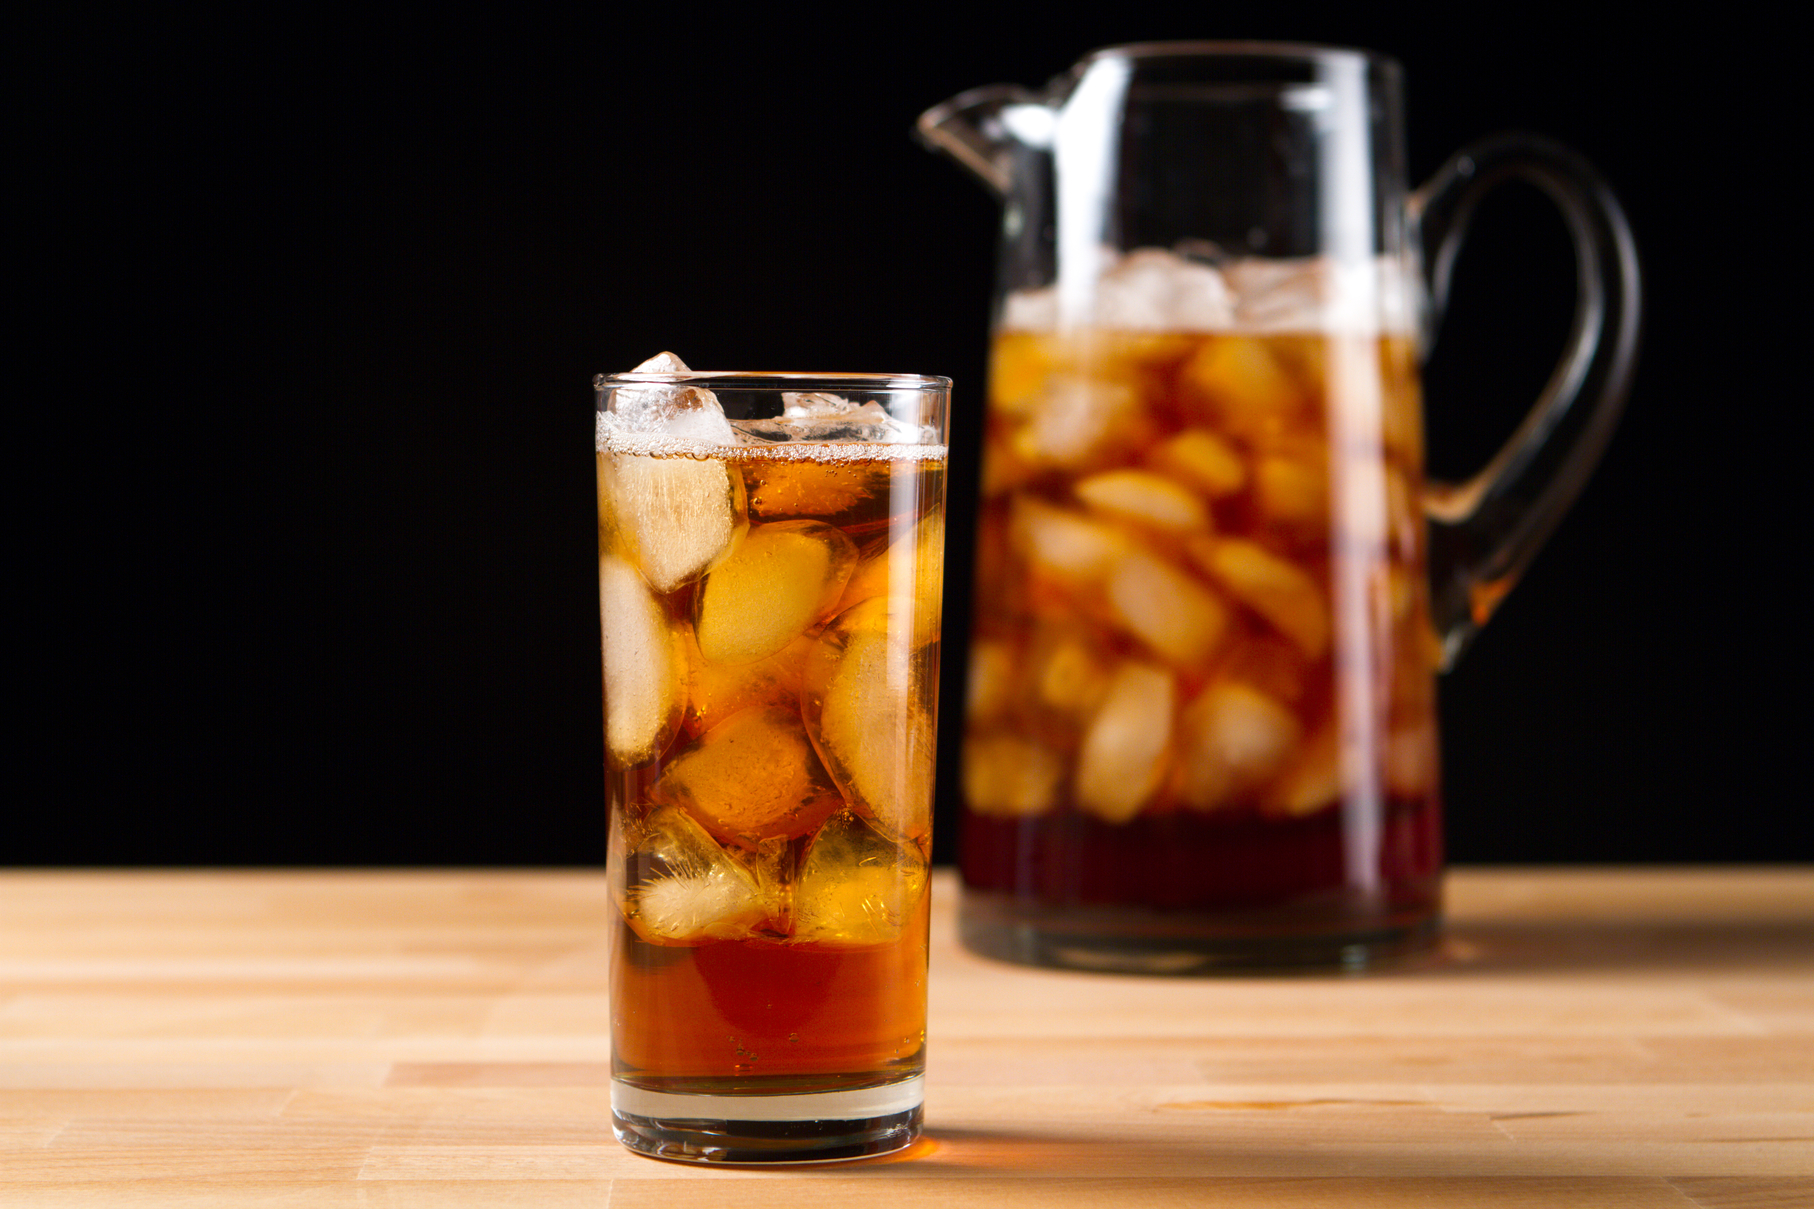
You can’t call it summer without sun, sand and, of course, sweet tea. There is no greater icon of vacation mode: the sweaty, frosted glass and the soft clink of ice cubes as you draw your first icy, mouth-watering sip. Sweet tea is both a treat and a staple of summer. In some regions of the country, it is guzzled like water. In others, it is a novelty consumed with cozy, home-style cuisine. Upon deeper analysis, we discovered that all the claims to the best sweet tea involved a secret recipe, and we delved into the ultimate mission: to crack the code of the sweet tea secret.
In 1795, the first tea plantations in the United States arrived in South Carolina. Today, there are still a few left in the state. Popping up in the 19th Century, the first sweet tea “punches” incorporated green tea and a heavy-handed pour of booze. The switch to black tea began in the late 1800’s when the refreshing drink became more like the modern-day version, preferably garnished with a slice of lemon, sweetened with sugar, poured over broken ice.
While you can’t visit a rest stop or convenience store without being bombarded by an influx of flavored and traditional sweet tea options, this wasn’t always the case. Sweet tea came on the market in the early 20th century, specifically the Saint Louis World’s Fair of 1904. The oppressive heat inspired the quest for cold drinks, and the complimentary hot tea being given out at the fairgrounds was served over ice. The chilled version of this “ice tea” was a smash hit for fairgoers. It soon made its way into department stores as the signature drink for shoppers nationwide!
Searching for the best sweet tea recipe, we encountered a whole lot of “secret” ingredients and brewing methods. We decided to take matters into our own hands and perfect our own recipe to put out for the whole world to enjoy! We’re here to take the secret out of this southern treat. Give it a whirl and let us know what you think!
- Use loose leaf tea – it is of higher quality than most tea bags and tastes better! Tea bags use fannings and dust, the leftover bits of tea once the good loose leaf stuff is used. Try our Iced Tea blend, Organic Keemun, or Orange Pekoe!
- Use an iced tea pitcher, such as our Mist Iced Tea Pitcher. All you have to do is add your loose leaf tea directly inside the pitcher, then add filtered water! The filter at the top of the pitcher will keep tea leaves from reaching your glass. With the Mist Iced Tea Pitcher, there are is a cold and hot brew method.
- Add 7-10 tsp loose leaf tea to the 50oz pitcher
- Gently pour 2 cups hot water first, then 4 cups cold water
- Place pitcher in fridge. Steep 2 – 6 hours.
- Voila! Pour and serve!
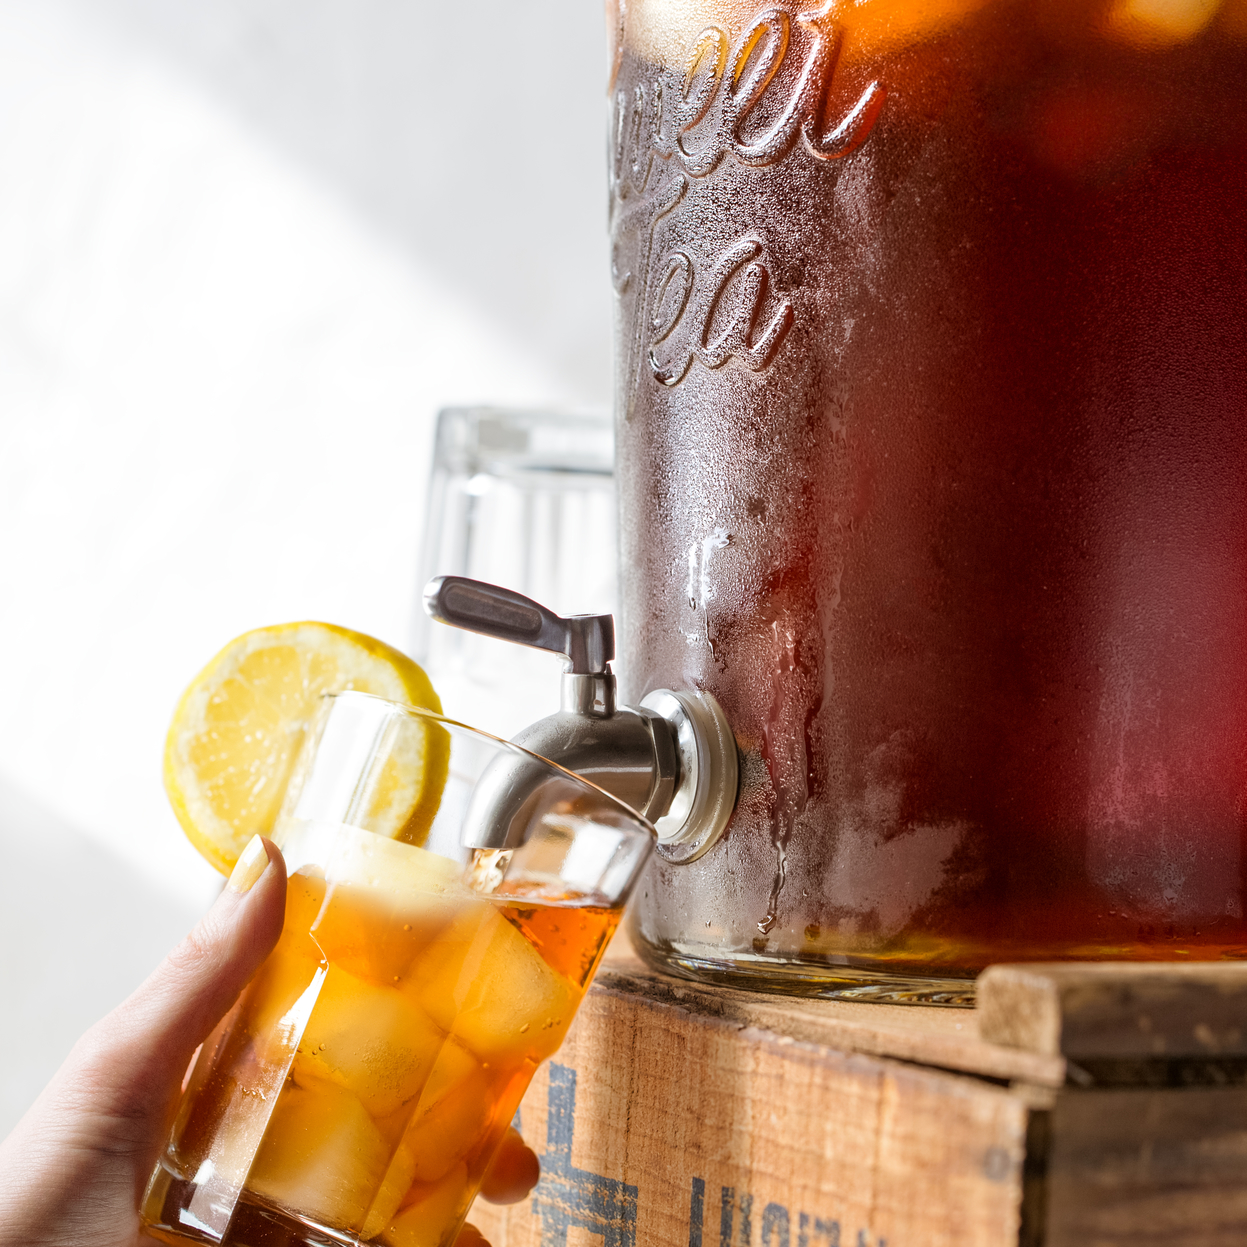
- Garnish with a lemon slice and mint sprig.
You can’t call it summer without sun, sand and, of course, sweet tea. There is no greater icon of vacation mode: the sweaty, frosted glass and the soft clink of ice cubes as you draw your first icy, mouth-watering sip. Sweet tea is both a treat and a staple of summer. In some regions of the country, it is guzzled like water. In others, it is a novelty consumed with cozy, home-style cuisine. Upon deeper analysis, we discovered that all the claims to the best sweet tea involved a secret recipe, and we delved into the ultimate mission: to crack the code of the sweet tea secret.
In 1795, the first tea plantations in the United States arrived in South Carolina. Today, there are still a few left in the state. Popping up in the 19th Century, the first sweet tea “punches” incorporated green tea and a heavy-handed pour of booze. The switch to black tea began in the late 1800’s when the refreshing drink became more like the modern-day version, preferably garnished with a slice of lemon, sweetened with sugar, poured over broken ice.
While you can’t visit a rest stop or convenience store without being bombarded by an influx of flavored and traditional sweet tea options, this wasn’t always the case. Sweet tea came on the market in the early 20th century, specifically the Saint Louis World’s Fair of 1904. The oppressive heat inspired the quest for cold drinks, and the complimentary hot tea being given out at the fairgrounds was served over ice. The chilled version of this “ice tea” was a smash hit for fairgoers. It soon made its way into department stores as the signature drink for shoppers nationwide!
Searching for the best sweet tea recipe, we encountered a whole lot of “secret” ingredients and brewing methods. We decided to take matters into our own hands and perfect our own recipe to put out for the whole world to enjoy! We’re here to take the secret out of this southern treat. Give it a whirl and let us know what you think!
- Use loose leaf tea – it is of higher quality than most tea bags and tastes better! Tea bags use fannings and dust, the leftover bits of tea once the good loose leaf stuff is used. Try our Iced Tea blend, Organic Keemun, or Orange Pekoe!
- Use an iced tea pitcher, such as our Mist Iced Tea Pitcher. All you have to do is add your loose leaf tea directly inside the pitcher, then add filtered water! The filter at the top of the pitcher will keep tea leaves from reaching your glass. With the Mist Iced Tea Pitcher, there are is a cold and hot brew method.
- Add 7-10 tsp loose leaf tea to the 50oz pitcher
- Gently pour 2 cups hot water first, then 4 cups cold water
- Place pitcher in fridge. Steep 2 – 6 hours.
- Voila! Pour and serve!
- Garnish with a lemon slice and mint sprig.