Flash Brewed Iced Coffee
Thursday, September 8th, 2016 by Andrew
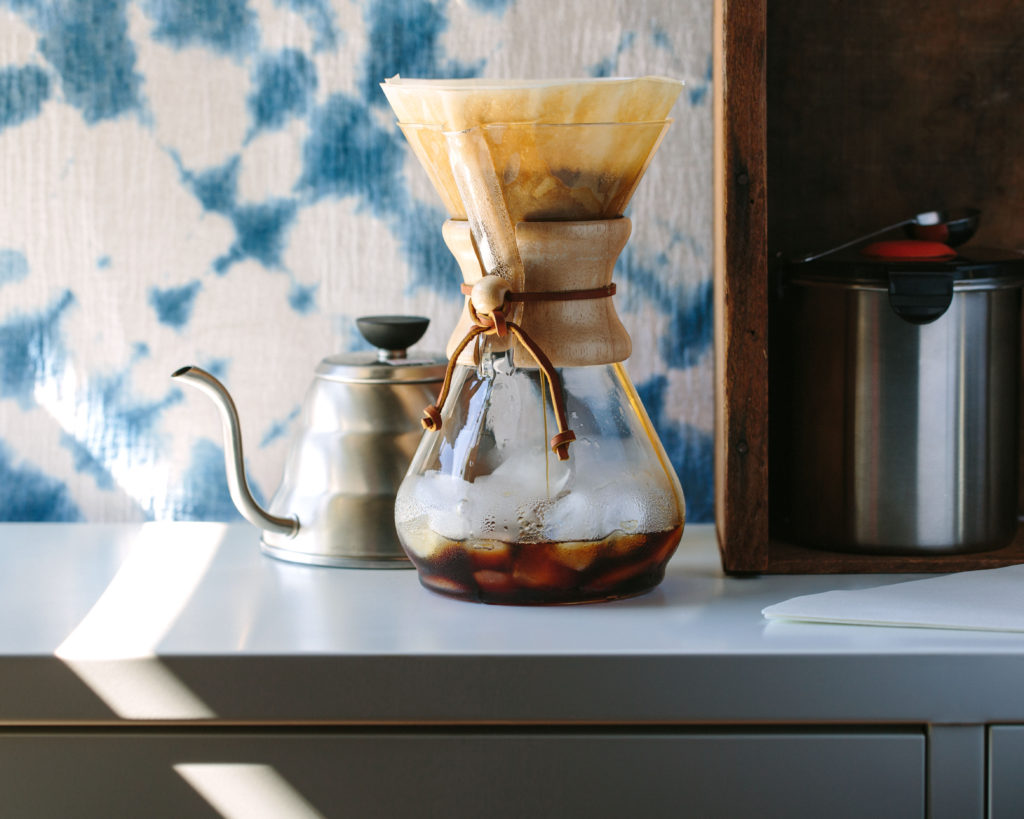
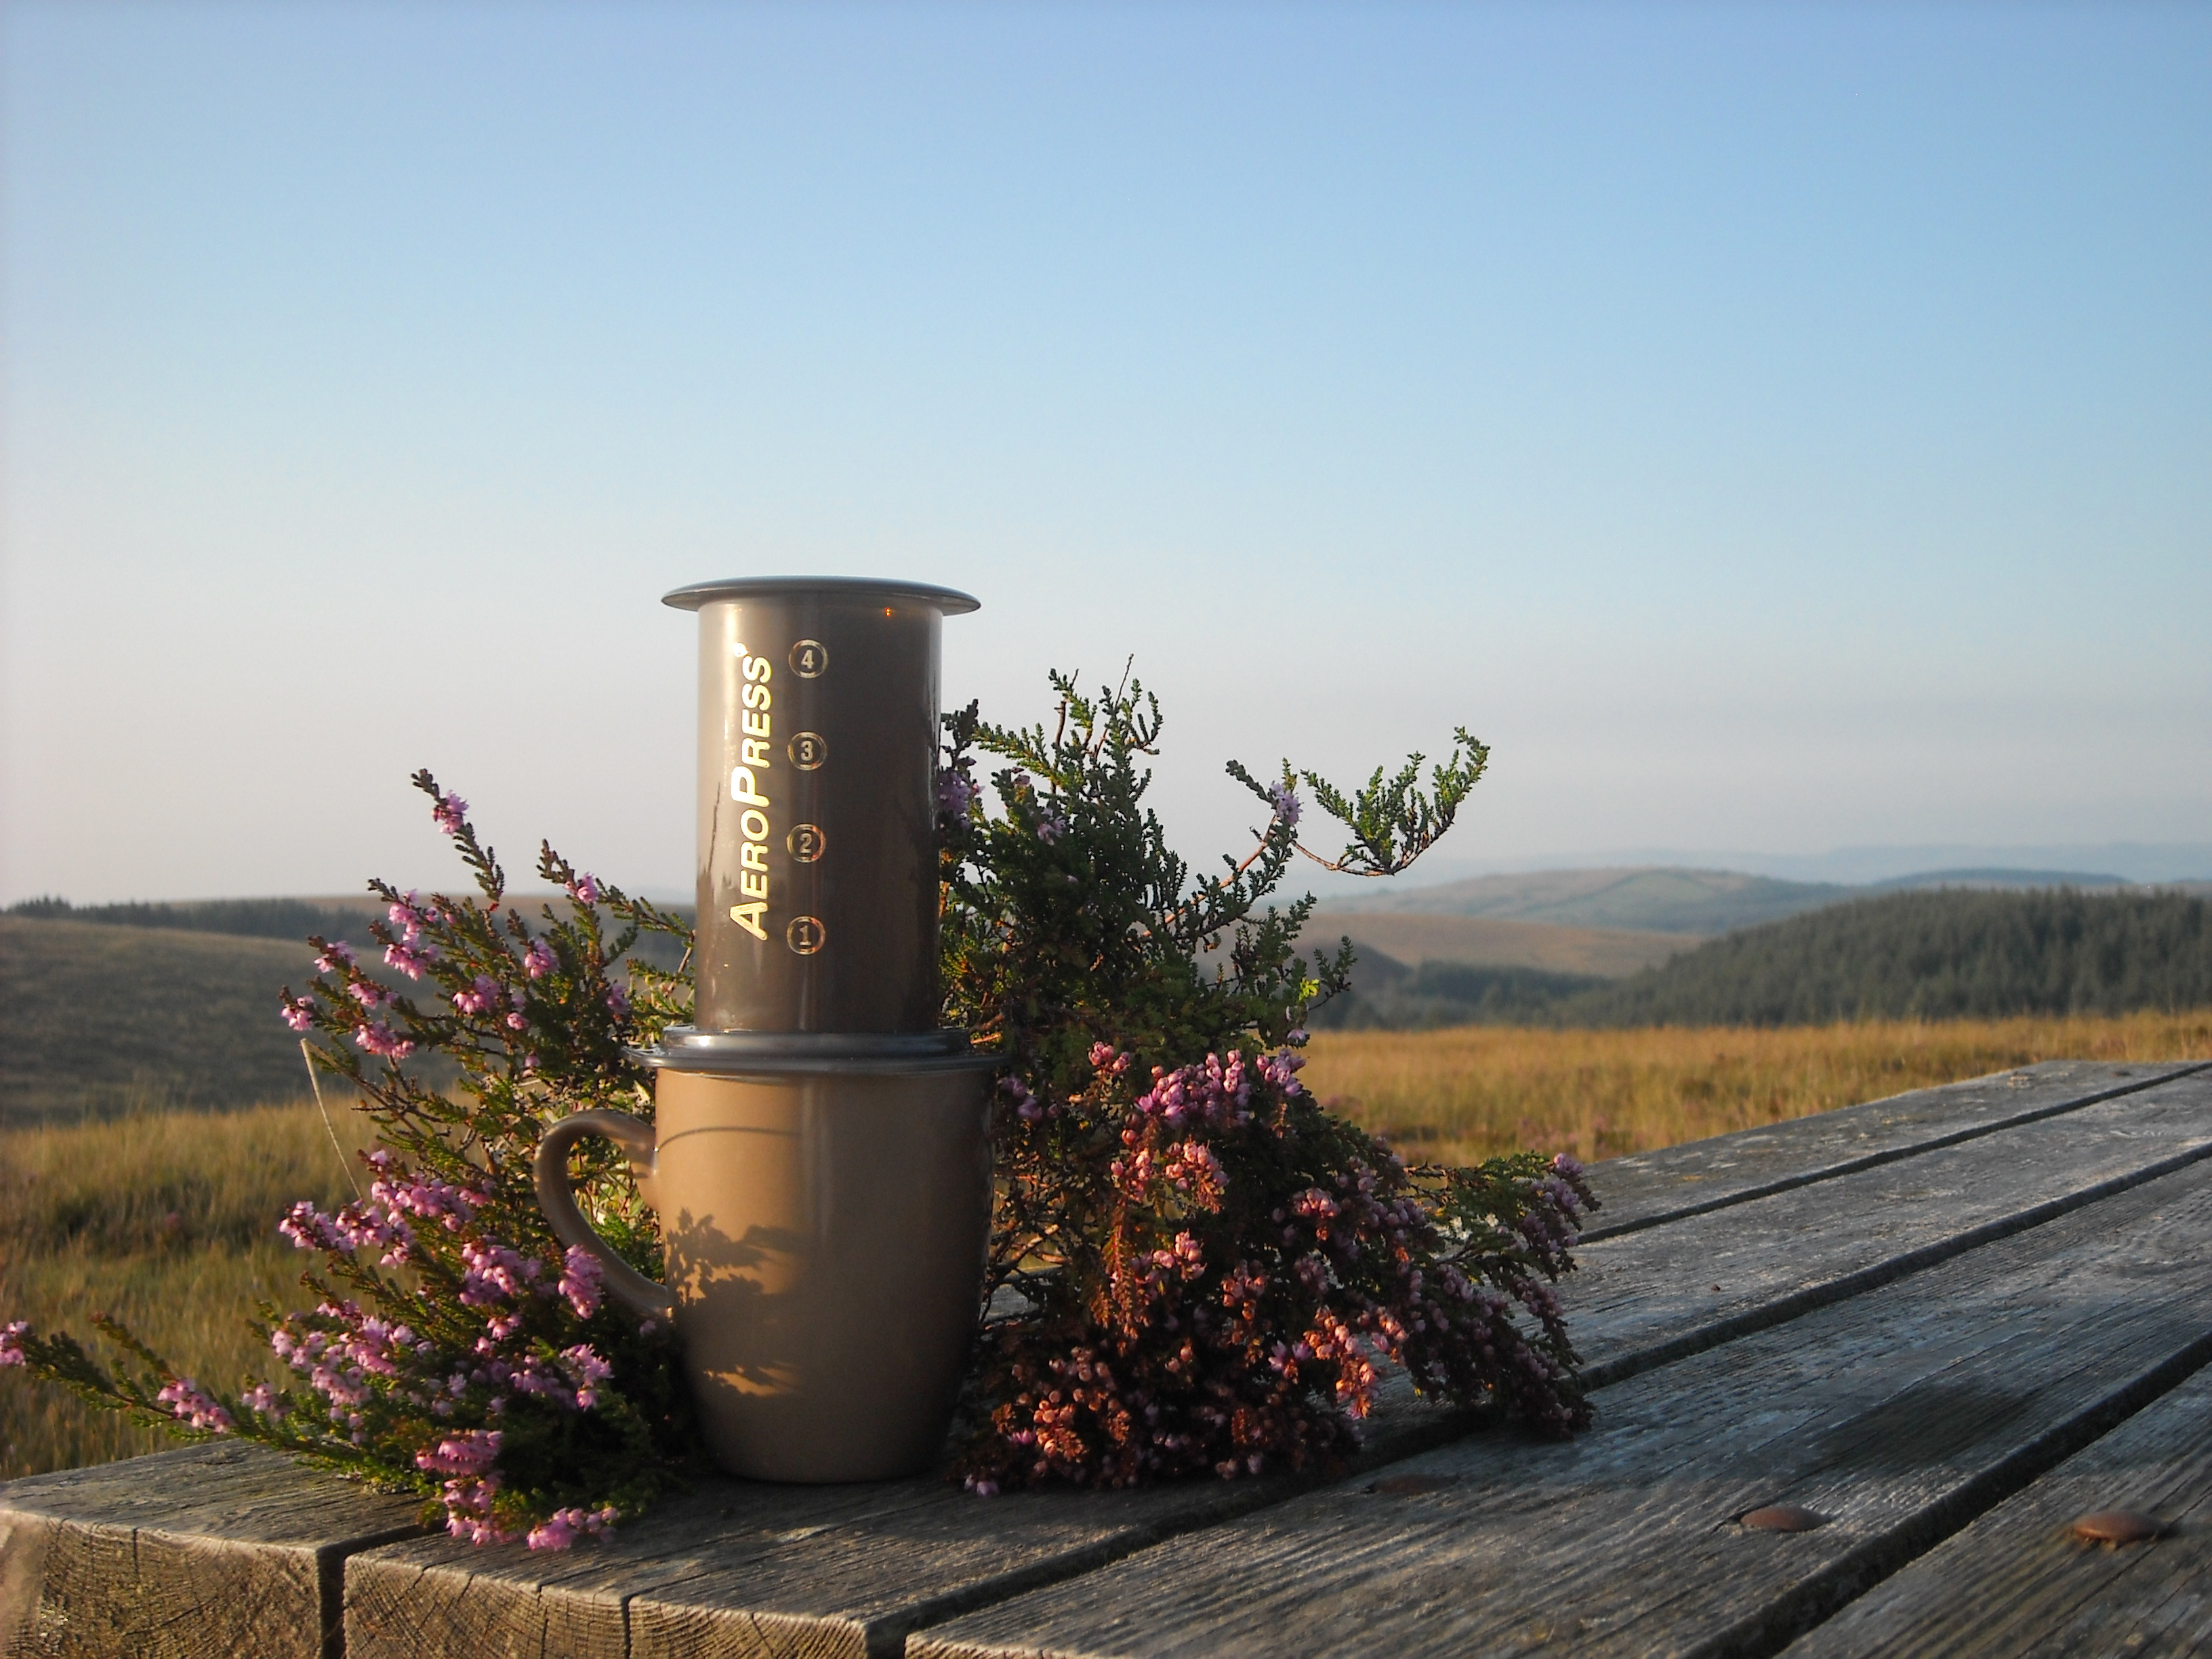
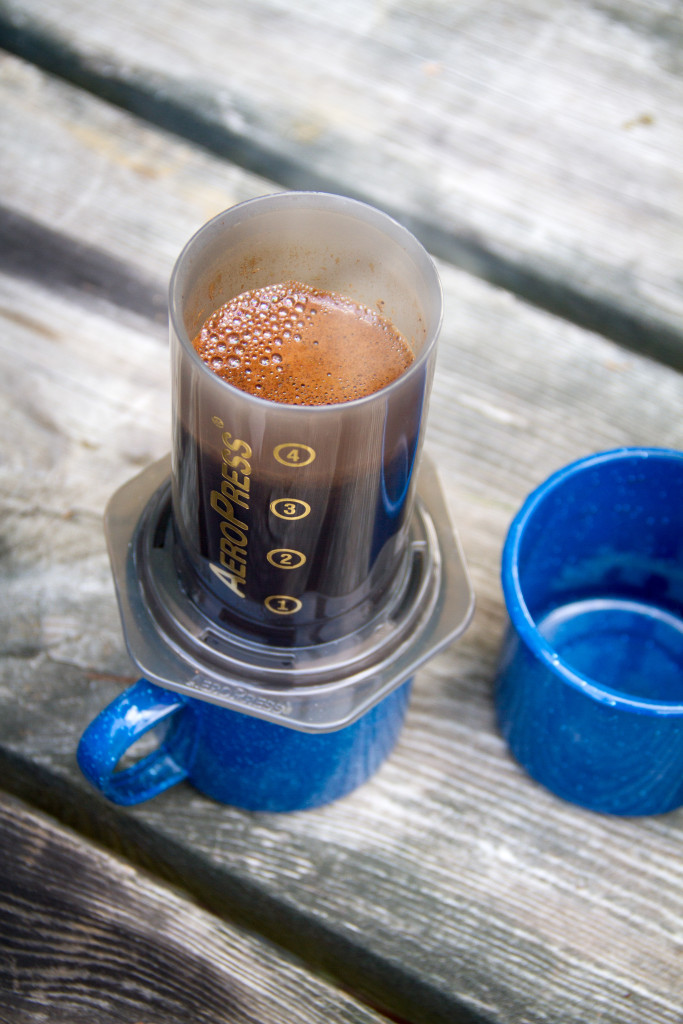
If you’re one of the many iced coffee lovers who’ve made the switch to cold brew, you may be wondering what all the fuss is about “flash brewed” iced coffee. Back before cold brew was a thing, iced coffee was often regular strength hot coffee (or yesterday’s coffee) poured over ice. The result was watery and disappointing. Also called ice brewed or Japanese-style iced coffee, flash brewed iced coffee is brewed fresh over ice, usually using a pour-over brewer like the Chemex or Hario. For a visual, check out our video on brewing hot or iced coffee with the Chemex. It can also be made with a regular old automatic drip machine or an Aeropress. The key is allowing the coffee to drip directly onto the ice as it brews. Drip by drip, it cools instantly and less dilution occurs than if you were to dump a cup or a pot full of hot coffee over ice.
Flash brew vs. cold brew
If cold brew tastes a little flat to you, that’s because ground coffee requires heat to release some of its acids and aromatic oils (for details on the cold brewing method, check out our post). Cold brewed coffee is much less acidic, but possibly also less nuanced in flavor. High temperatures also cause these oils to oxidize and degrade over time, resulting in the sour or stale taste coffee acquires after sitting on a burner too long. Both methods claim to minimize oxidation, cold brewing by omitting heat and flash brewing by minimizing the amount of time between exposure to heat and consumption.
Another important difference between cold brew and flash brew is texture. Cold brew is less filtered since the coffee sits in contact with the grounds for a long period and some finer sediment dissolves over time. The end result is a rich, mellow cup, with the velvety texture of French press coffee. Flash brewed coffee by comparison is cleaner and crisper, with more bite, more aroma, and some would argue, more flavor.
Flash brewed coffee also has a few convenient advantages over cold brews, depending on your perspective. While nothing is lazier than dumping grounds and water in a bowl and letting them sit, flash brewed coffee is ready right away – no wait required. Also, less coffee is required since cold brew recipes typically make a concentrate with a high ratio of grounds to water. For flash brewing, start with the amount of coffee you would normally use, and replace half the brewing water with ice. Increase the grounds to water ratio if you like a little stronger taste from your iced coffee.
So which one wins? Cold brewing will emphasize more chocolaty or nutty characteristics while the acidity of flash brew will taste fruitier. Try picking a single origin coffee with an acidity level and flavor notes that will either play up or balance these characteristics. For instance, the higher acidity level of Ethiopian Yirgacheffe really jazzes up a cup of cold brew. To further emphasize its brightness, try it flash brewed. To minimize the acidic flavor of flash brewed coffee, try an Indonesian varietal like Papua New Guinea or Estate Java. Flash Brewed coffee tends to have a more nuanced flavor, perfect for a light roast coffee, but there are no rules. Experiment with roast level, see what you like, and share your recommendations!