Easy Chemex, Hot or Iced

Friday, May 6th, 2016 by

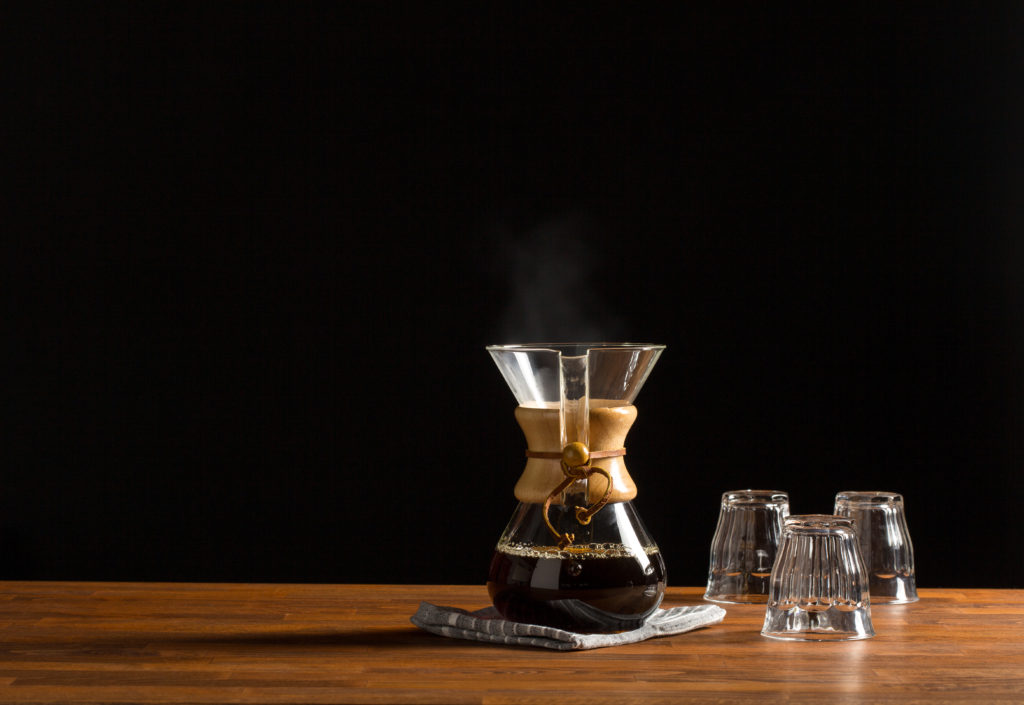
New to Chemex coffee? The Chemex is distinguished in the world of pour over brewing by its unique shape and heavy paper filter, which work together to create a flavorful and clean cup of coffee. If you like a bright flavor without bitterness or sediment, give it a try!

Coffee Purists

To brew hot coffee with the Chemex, you’ll need the following:

  • Chemex 6 cup or 8 cup brewer
  • Chemex Bonded Filters
  • Coffee ground slightly coarser than you would use for an autodrip machine (ask for a pour over grind if ordering ground coffee)
  • Near boiling water
  • A Kettle (preferably with a thin spout)

Instructions:

  1. Open your filter so that it forms a cone. You’ll see that one side has three layers. Place the filter in the top of your brewer with this side facing the spout.
  2. Measure your water and coffee. We recommend using 2 tablespoons of ground coffee for every 6-8 ounces of water.
  3. Boil your water adding a little extra to the kettle to rinse the filter before brewing (optional).
  4. Preheat your brewer (recommended for hot coffee) by pouring a little hot water into your filter. This step serves to eliminate some of the paper taste from the filter as well as warm the carafe. Discard the water once it has run through.
  5. Pour your ground coffee into the filter.
  6. Wet the grounds with hot water. Add just enough water so there are no dry spots and let sit for about 30 seconds.
  7. Add the rest of your water. Start by wetting all of the grounds again, then move the stream of water in slow spirals, pausing when close to the top. A gooseneck kettle is recommended for greater control.
  8. Once all the water has been added, allow the water to filter though. Remove the filter, give the carafe a swirl, and serve.

Iced version:

For iced coffee, replace half of the brewing water with ice. Place the ice in the carafe, skip step 4, and brew normally.


Aeropress Basics

Friday, September 18th, 2015 by


DSCN1204

The TSA-friendly Aeropress, on vacation in County Monaghan, Ireland.

We love the Aeropress. Why? It’s easy to use, affordable, compact, and produces a rich, flavorful cup of coffee. If you’re brewing for one (or two), it takes up a heck of a lot less space on a kitchen counter than an automatic drip brewer, though the shape may raise some eyebrows. The Aeropress loves to travel, it’s quick to use, and easy to clean. It fits great in a backpack or even a purse — take it to the office or on your next camping trip. Ready to try it? Here are the basics:

Brewing Instructions

  1. Boil some water and let it cool for about a minute.
  2. Place a filter inside the cap and place the Aeropress over your mug without the plunger inside.
  3. Wet the filter slightly with a little warm water.
  4. Pour in 2 scoops of finely ground coffee (we use a grind slightly finer than standard autodrip). A plastic funnel comes with the Aeropress for this purpose, but you may find that you don’t need it.
  5. Add the hot water until it reaches the number four.
  6. Stir (Aeropress comes with a little paddle).
  7. Insert plunger and PRESS firmly.

You’re done! Drink as is or dilute it with hot water to taste.

Aero2steam

Once you’ve got this down, give the reverse method a try. The coffee steeps a little longer in the hot water, producing a flavor closer to French press coffee.

The Reverse Method

  1. Start with the plunger in the Aeropress and flip upside-down so the top of the plunger is resting your mug.
  2. Pour in two scoops of finely ground coffee.
  3. Hold the cylinder steady over the cup and add hot water until nearly full.
  4. Stir with your paddle.
  5. Steep for one minute (you might want to experiment with steep time to get the flavor you like).
  6. Attach the cap with a filter inside.
  7. Flip it, carefully, and place over your mug.
  8. PRESS.

There you go. Two easy methods, two great cups of coffee. One weird looking tube thing no one would ever guess has anything to do with coffee. Enjoy!

Photo credit, top: Stacey Meola


Fresh From the Kiln: Our New Artisan Mugs

Tuesday, July 14th, 2015 by

1S0A1369

It’s been a while since we’ve carried a Coffee Bean Direct mug, but we recently updated our bean and arrow logo and decided to celebrate with a new mug design. Our durable and beautiful Artisan stoneware mugs are for you lovers of things rustic, beautifully imperfect, and one of a kind. Here’s our first batch, fresh from the kiln at Goose Creek Pottery in Rosemont, NJ, where potter Ted Green makes each wheel-thrown mug, one at a time.

1S0A1377


1S0A1356


1S0A1371


1S0A1364


1S0A1375

These mugs are a labor of love and made by hand. As a result, they vary slightly in size and glaze pattern. Dishwasher and microwave safe, they are functional works of art, worthy of our fresh-roasted best!

Simple Pour Over Coffee: How to Hario

Friday, May 15th, 2015 by

Why would a person make drip coffee by hand, when there are machines for that?

If you’ve noticed the line moving more slowly at your local fancy coffee shop, pour over coffee may be to blame. The basic process involves pouring water by hand in a slow stream through grounds in a filter to produce a single cup or small batch. If this sounds like what your drip machine does, but slowly and with lots of room for human error, you are correct.

So why is this popular? Pour over is known for having a fuller, more complex flavor than automatic drip coffee, and a brighter, less heavy flavor than French press. Not necessarily better, it can yield different or a range of results from the same coffee depending on the pour. Control over the temperature and flow of the water allows for more control over the flavor profile of the end result.

If you’re interested, but doubt your ability to manage more than a push of a button in the morning, you might be wondering if manual brewers are worth the effort. We picked the Hario V60 system to demonstrate how simple the process can be. If you use an automatic brewer, you already know the basic steps by heart: place coffee in a filter, place a filter in a cone, and add water. The big difference is that you pour the water by hand. You might want to experiment a little to get your pour down pat, but once you know the drill, you can easily make this a part of your routine.


Simple Pour Over Coffee: How to Hario from Coffee Bean Direct on Vimeo.

What you’ll need:

Hario V60 Dripper

Hario V60 Range Server

Hario V60 filters

Coffee

Tablespoon

Directions:

  1. Boil some water in a kettle. The Hario we’re using holds 20 oz, but you can also brew a single serving with the same equipment. After boiling, set aside.
  1. Fold a V60 paper filter along the seam for a better fit and place it in the dripper.
  1. Optional: lightly wet the entire filter with a little hot water. With the dripper attached, pour the hot water out once it has drained through.
  1. Place ground coffee into the filter. We recommend 2 tablespoons (1 coffee scoop) of medium-fine coffee per 6 oz of water. If you want to be fancy, level the grounds and make a divot in the center. This will encourage drainage though the grounds.
  1. Pour just enough water into the filter to wet all the grounds and wait 45-60 seconds, about the time it takes to find a pop-tart and stick it in the toaster.
  1. Slowly pour the remaining water over the grounds. The key to doing this right is to pour very slowly in circular motion and to keep the stream of water on the coffee. Try to avoid hitting the filter or the center directly. This is easier with a thin-spouted kettle, but any kettle or teapot can work if you go slow and keep the stream as fine as you can.
  1. While the last of the water is draining, give the grounds a stir with a spoon.
  1. Replace the dripper with the top of the server and swirl the carafe.
  1. Pour, drink, and get on with your day.

The ekobrew Bundles are here!

Wednesday, March 28th, 2012 by

Ekobrew and Coffee Bundles

You may have noticed that we’re getting a little obsessed with our Ekobrew Reusable Filters for Keurig Single Cup Brewers. We blog about them, Facebook about them, and spotlight them in almost every newsletter with no sign of stopping anytime soon. That’s because the response to these nifty, cost effective, and environmentally friendly filters has been overwhelming! To keep the pace going strong, we have decided to add product bundles to the website; Ekobrew filter and coffee combos that will save you money and help you decide which varieties of coffee to use in your Keurig machine.

We looked closely at what coffee varieties our fans have been ordering when they buy their Ekobrew filters. We used this information to hand pick coffee for the best bundles possible. After much deliberation we settled on 3 unique bundles:

Ekobrew Bundle #1 – Flavor:

1 lb Hazelnut flavored coffee

1 lb Jamaican Me Crazy flavored coffee

1 Ekobrew Reusable Filter

Hazelnut and Jamaican Me Crazy are our 2 most popular flavors. They are sure to please any fan of flavored coffee. Can’t decide which one to try first? Using your Ekobrew in your Keurig brewer is so easy you can treat yourself to a cup of both.


Ekobrew Bundle #2 – Greatest Hits:

1 lb Italian Roast Espresso coffee

1 lb Colombian Supremo coffee

1 Ekobrew Reusable Filter

Many households are split when it comes to coffee preferences: Dark, rich coffees versus lighter roasted coffees with more subtle flavors. No more arguing over which coffee to make a full pot of every morning. Our Greatest Hits bundle matches the Ekobrew filter with a pair of our most popular dark and light roast.


Ekobrew Bundle #3 – Double Bundle:

1 lb French Roast coffee

1 lb Breakfast Blend coffee

2 Ekobrew Reusable Filters

We were surprised at how many of our fans have been buying more than one Ekobrew Reusable filter at a time. It makes sense when you think about it though… People love their Keurigs because they are quick and convenient. With two Ekobrews, you can have your next cup ready for brewing before your first one is even finished. The Double Bundle comes with French Roast and Breakfast Blend, 2 extremely popular blends that are sure to please any palate.

Whether you are buying them as a gift or for yourself, we are sure you will love all 3 bundles. As always, we love comments and feedback. Feel free to comment on other products you would like bundled with your Ekobrew filter. Maybe a 3-pack? How about one of our popular sampler packs with an Ekobrew? You tell us.